 ( 231 ) 3-May-2013
To create the cub I use a cartoon and punch little holes along the outline. This is how Michelangelo did the Cysteine Chapel.
Cocobolo Body 15 inch lower bout
Adirondack Spruce Top
Lion Theme Marquetry
Mahogany Neck
Ebony Fretboard
Gold Frets & Gotoh Tuners
Padauk
Binding
25.4 Inch Scale Length
( 231 ) 3-May-2013
To create the cub I use a cartoon and punch little holes along the outline. This is how Michelangelo did the Cysteine Chapel.
 ( 232 ) 3-May-2013
I fill n the outline and then use my Dremel tool to route out everything that makes up the cub.
 ( 233 ) 3-May-2013
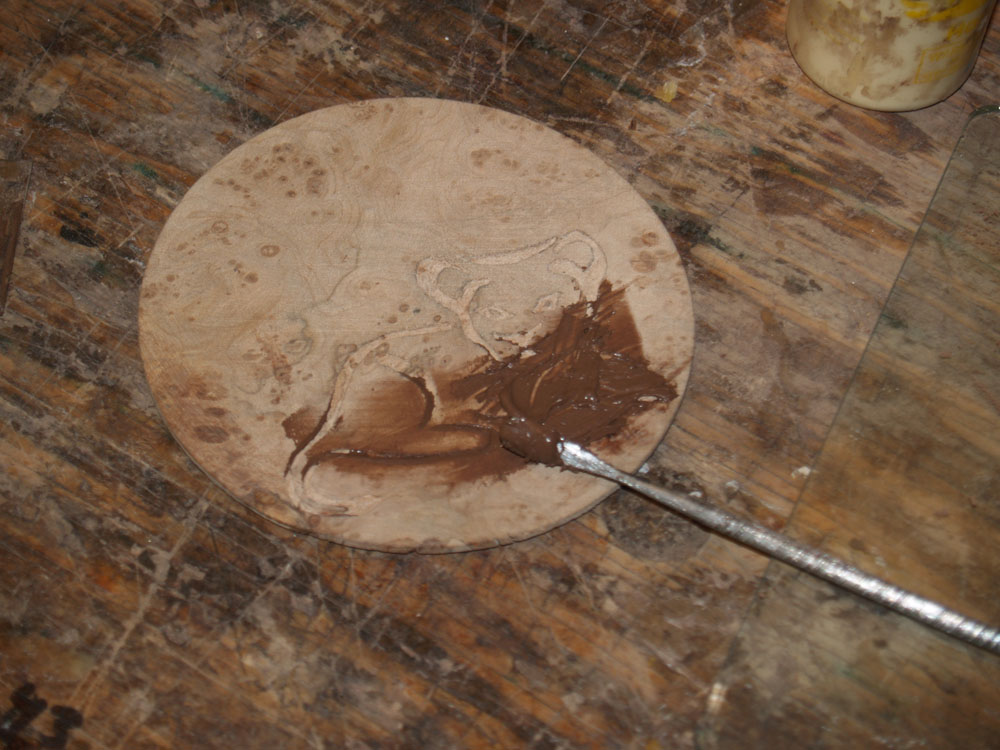
Then I fill the channels with a wood mastic.
 ( 234 ) 3-May-2013
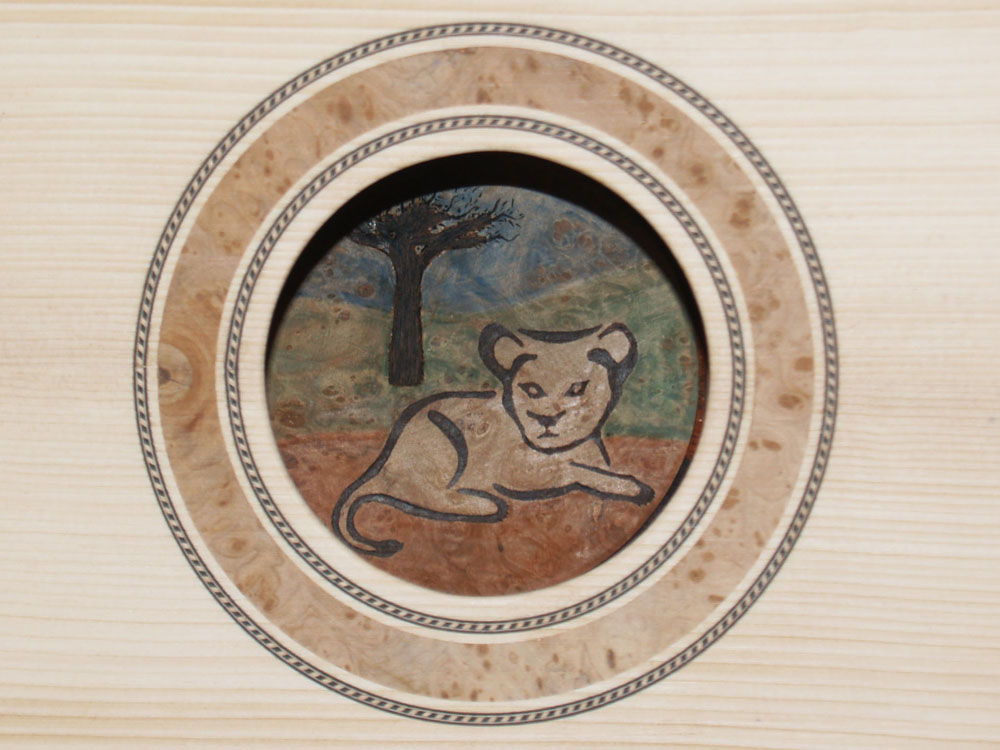
After sanding the surface smooth I made the Baobab tree from a veneer.
 ( 235 ) 3-May-2013
Then a bit of color magic, embossing and detail work and the contra-rosette is ready.
 ( 236 ) 3-May-2013
A view through the sound hole.
 ( 237 ) 3-May-2013
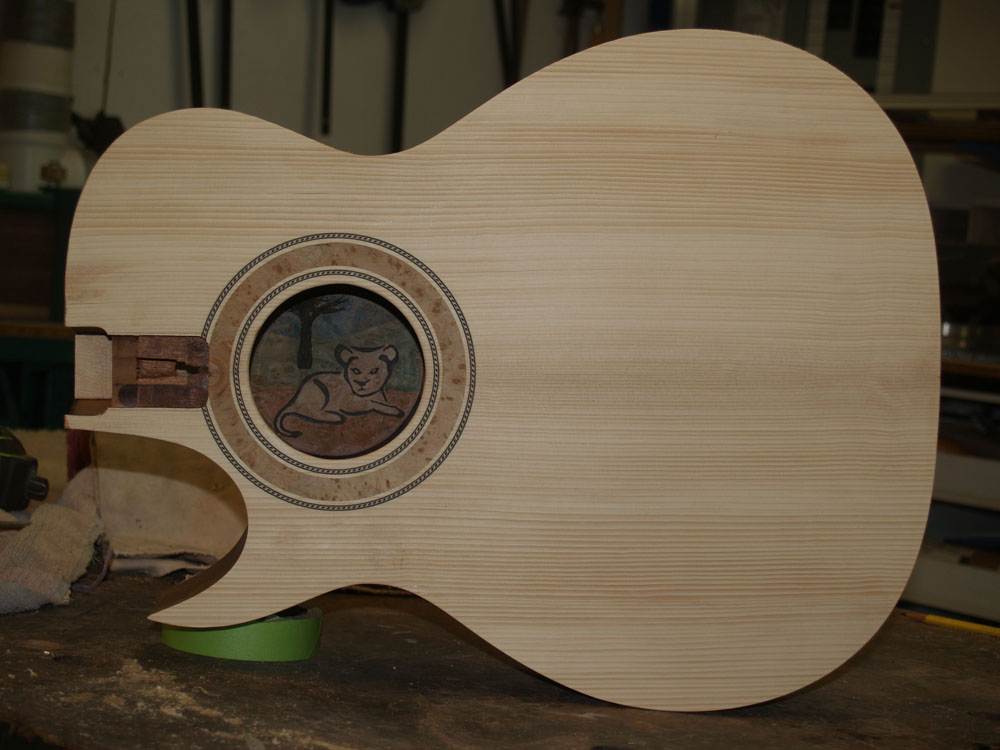
And in the context of the body.
 ( 238 ) 3-May-2013
Here I am removing the cutaway section of the back plate.
 ( 239 ) 3-May-2013
I use the go-box to attach the contra-rosette to the back.
 ( 240 ) 3-May-2013
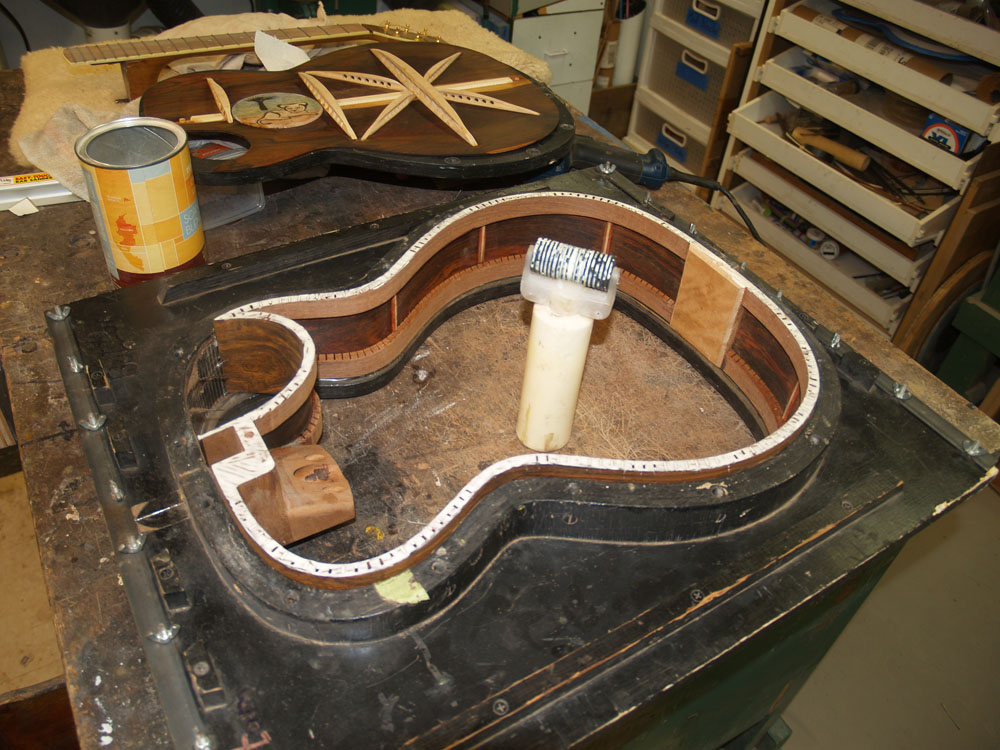
Here I have mounted the sides in its form and bolted down the top flange.
 ( 241 ) 3-May-2013
After turning the form over I apply a layer of glue to the kerfing shelf.
 ( 242 ) 3-May-2013
I work until there is an even layer of glue.
 ( 243 ) 3-May-2013
Then the back gets positioned on the rim and the bottom flange is bolted down pressing the back into place.
 ( 244 ) 3-May-2013
Turning the form over I clean up the glue that has been pressed out.
 ( 245 ) 3-May-2013
I let the assembly set up over night and then remove it from the form.
 ( 246 ) 3-May-2013
I mount the guitar body in my body vice and start using a router to remove the overhang.
 ( 247 ) 3-May-2013
I have to work carefully to make the bottom is flush with the sides.
 ( 248 ) 3-May-2013
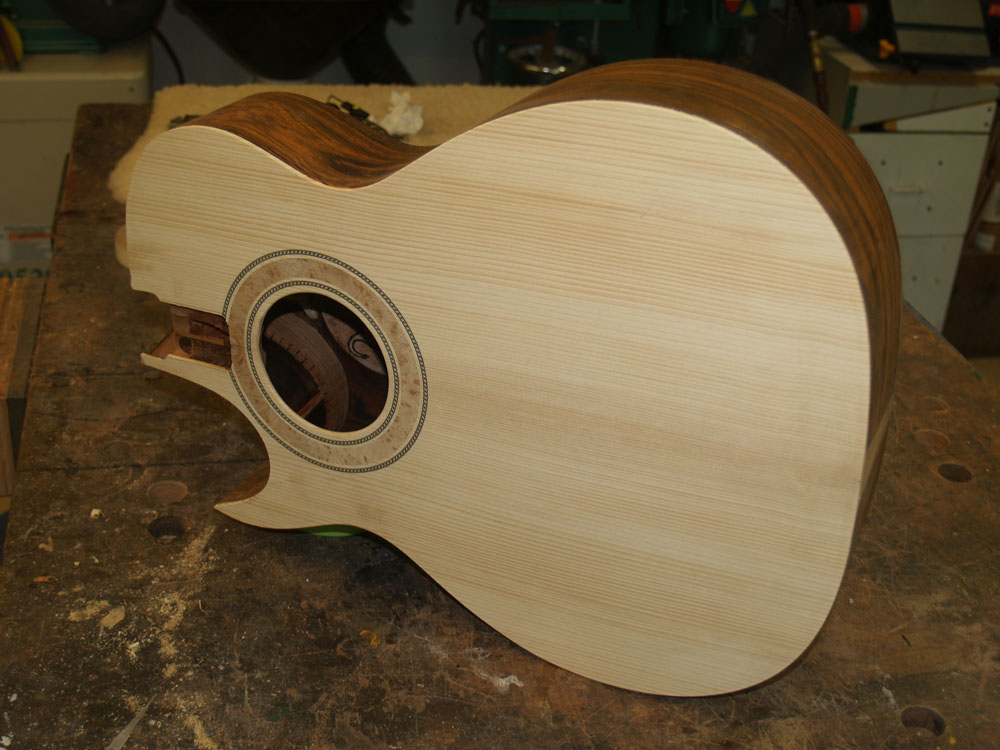
A look at the cutaway section... looks like a lion's claw.
 ( 249 ) 3-May-2013
I return the body to its form and apply a layer of glue to the top shelf.
 ( 250 ) 3-May-2013
I carefully aligning the top on the rim. The fiducial buttons assure that the top and back are aligned properly.
 ( 251 ) 3-May-2013
Then the top flange is bolted down pressing the top into place.
 ( 252 ) 3-May-2013
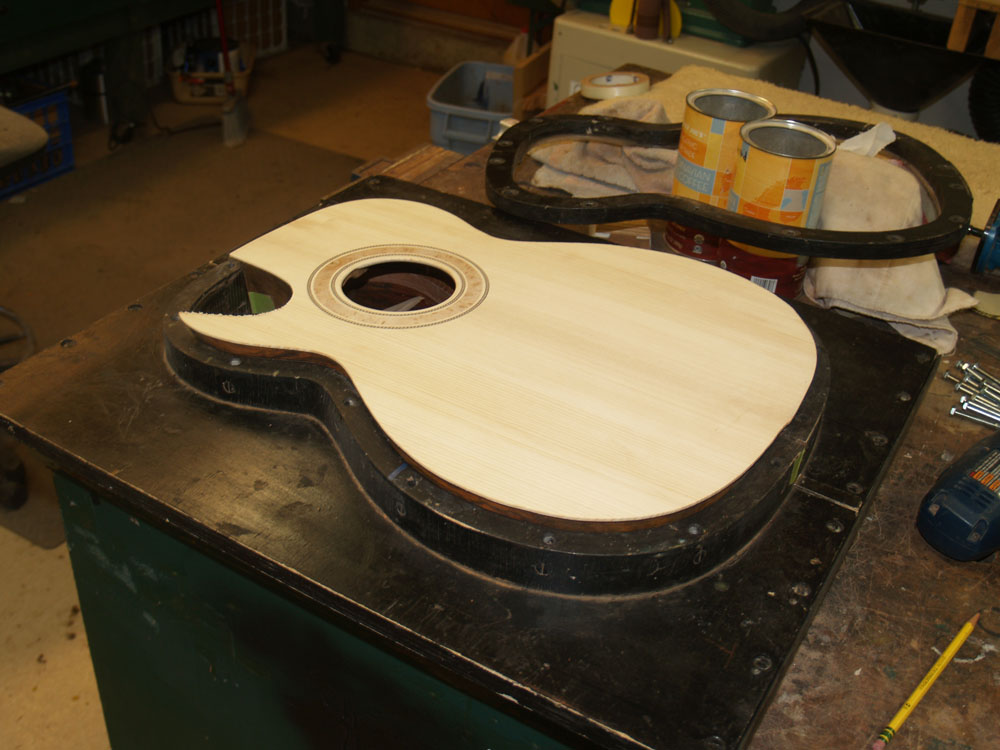
The next morning the body comes out of the form.
 ( 253 ) 3-May-2013
I use the small router to first create the heel channel wings.
 ( 254 ) 3-May-2013
These small extensions help hide the seams between the neck and the body.
 ( 255 ) 3-May-2013
I continue routing off the overhang on the top.
 ( 256 ) 3-May-2013
Here I am drilling out the neck attachment bolt.
 ( 257 ) 3-May-2013
I use this template to guide a router to cut out the fretboard cantilever support block.
 ( 258 ) 3-May-2013
I use a big router to create the channel.
 ( 259 ) 3-May-2013
Here is a look at the finished channel.
 ( 260 ) 3-May-2013
To reinforce the channel wings I create a fillet with epoxy paste.
 ( 261 ) 3-May-2013
A nice 1/8 inch radius fillet.
 ( 262 ) 3-May-2013
And finally a few views of the assembled body.
 ( 263 ) 3-May-2013
A dramatic and beautiful back.
 ( 264 ) 3-May-2013
 ( 265 ) 3-May-2013